
For more details on the workshop go to RCEM Learning
The RCEM Leaning Podcast Process
For more detail on how we produce the RCEM Learning Monthly Podcast see this video. The workflow is designed to be as efficient as possible and enable clinicians with less technical ability to act as editors for the monthly podcast. Single track editing (see below) and Auphonic have made the process so much quicker. That and ensuring we get the best possible audio the first time round. I find Trello an invaluable way to keep organised for this. We use Slack for the rest of our communication and witty banter…
Right off the bat you need to know there are multiple ways to do this. I’m gonna show you my approach with GarageBand and Audacity (even though personally I use adobe audition). There is no single right program. We can chat about pros and cons but both of these are free and that’s not a bad place to start
This assumes you know how to record some audio into a device like an H1 or directly into one of these pieces of software.
Gear
For the record I have a Rode NT1A condenser mic on a home made boom stand in my office. This goes into a cheapo Behringer desk that goes into my computer. i’d love a 2i2 but can’t justify the spend. All this gear I had from a previous life where I did some music stuff.
For recording live interviews I mostly use a Zoom H1 with two dyanmic mics plugged into it. These are usually Q2U (the European equivalent of the ATR 2100...) but any dynamic mic would work fine and some of the other guys use SAQ7s which work great. You need one of these splitters for a tenner. You have to know how to split a stereo track to mono to use that system. If you don’t want the hassle you could use a zoom H4n but it’s a big step up in price.
For more than 2 people I use a zoom H6 (which as of today was only £220 which is a great offer – it’s usually £350).
For remote recordings I use Zencastr.
Below are some very basic instructions for how to edit audio using some free programs
Audacity
Adjusting levels: you can use something like auphonic to do this for you (which is a great idea I think) or you can adjust it manually. First off we’ll look at doing it for the whole track.
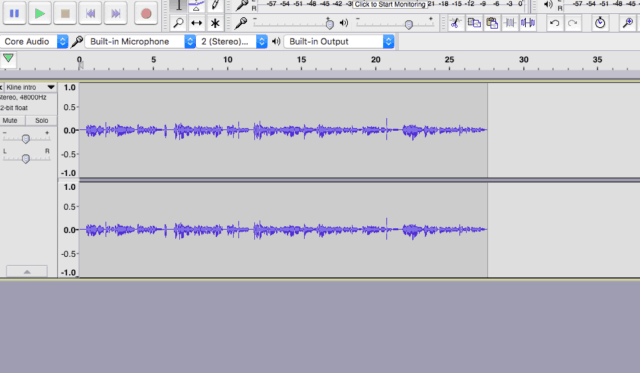
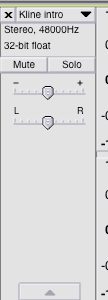
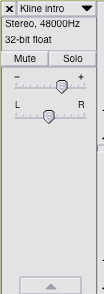
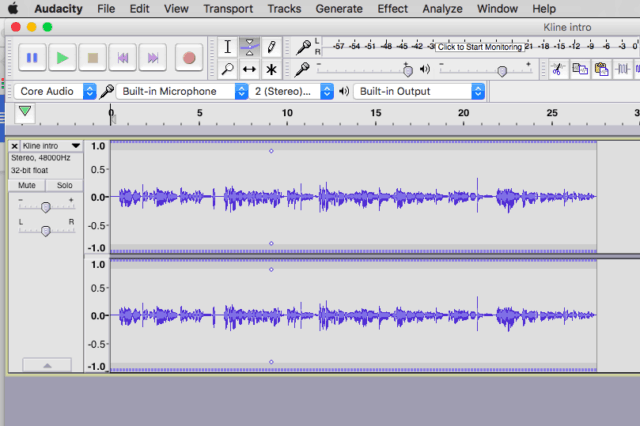
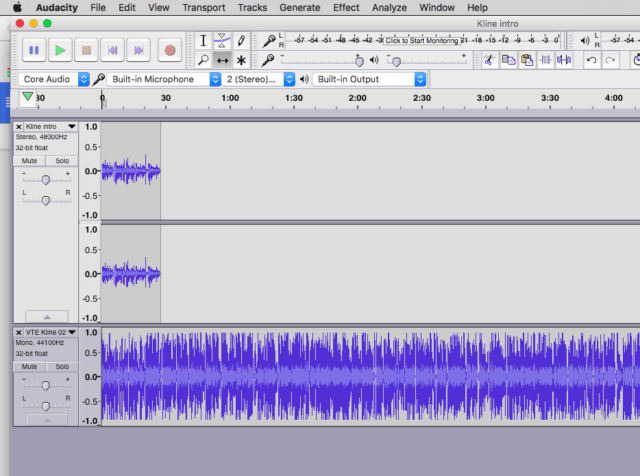
This bit of audio looks a bit quiet so we can adjust the volume using the slider on the left
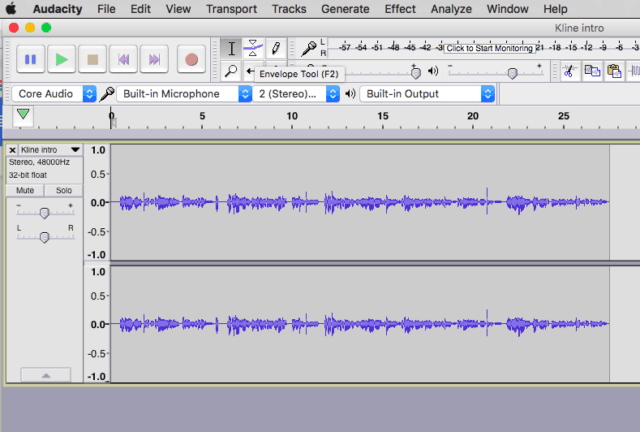
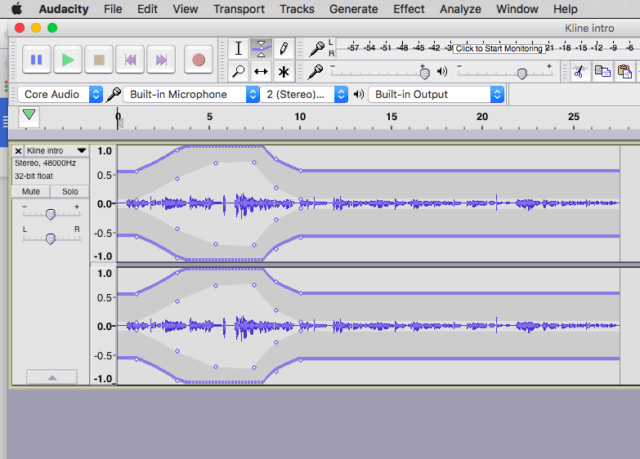
You can also increase a certain sections volume using the “envelope tool”
When clicked you can make the audio quieter

Or louder
You can also set it to fade in or out
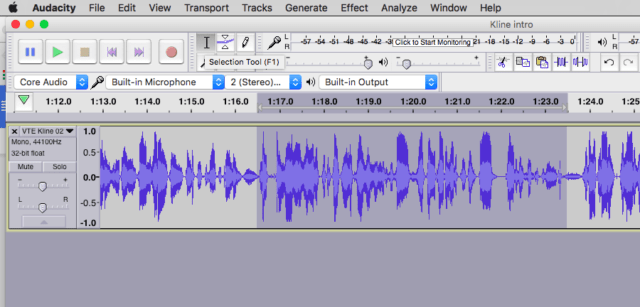
What if we want to delete a bit – say when someone coughed or when they went on a tangent and you want to remove it. First highlight the offending section using the “selection” tool
Now just press backspace and it disappears and the audio slides together to form a smooth join.
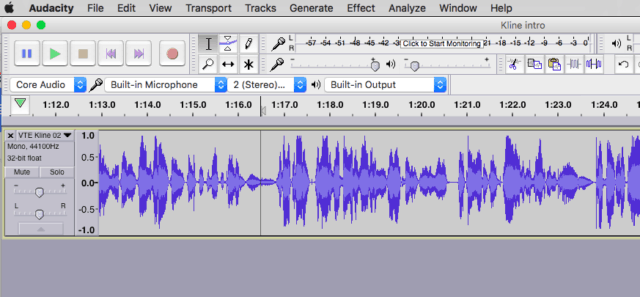
This is often referred to as a “ripple delete” function and it’s really nice as Garage Band doesn’t do this and when you delete a section you have to manually move the right hand section to meet the left section and close the gap you’ve just made.
Now we want to add this little intro clip before the main interview. At the minute they’ll play on top of one another.
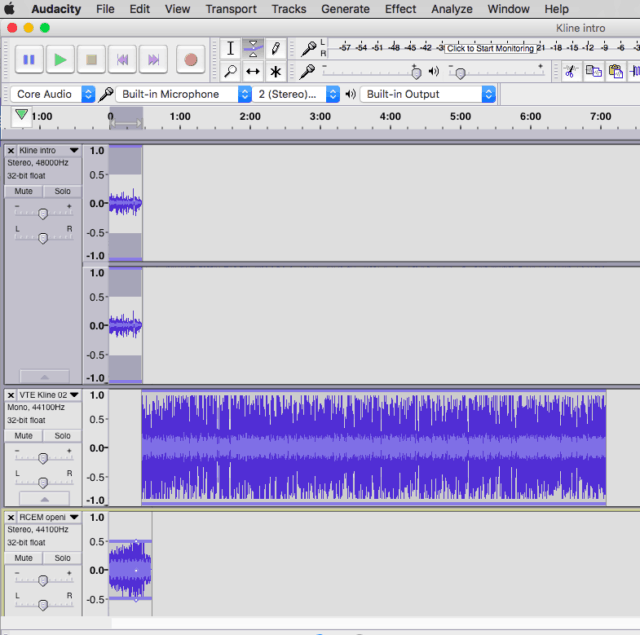
By using the “time shift” tool now we can move the main interview so it starts playing at the end of the intro clip

If you wanted to add music just add it as another track and adjust the volume on that track so the music is nicely in the background of your introduction
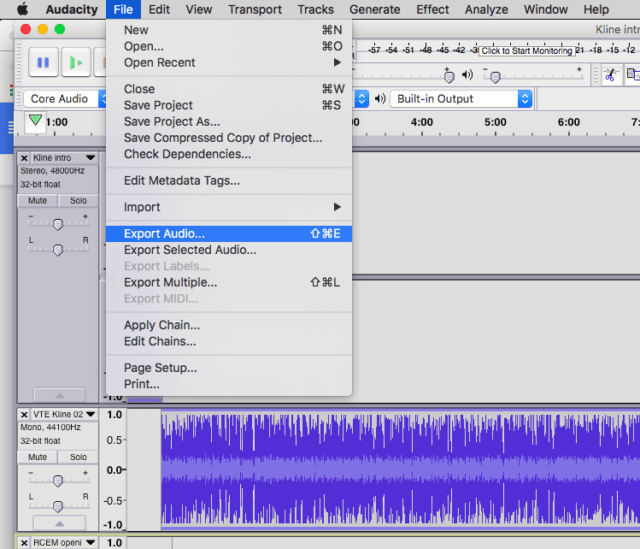
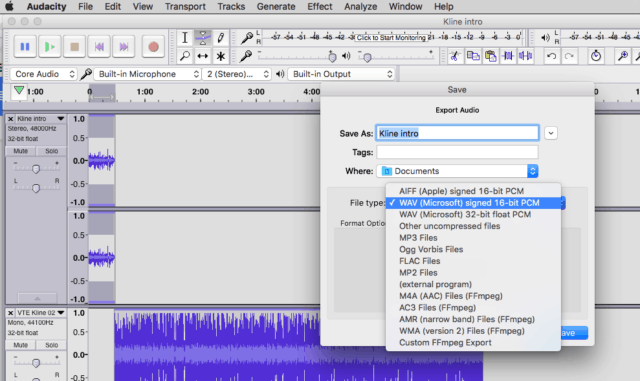
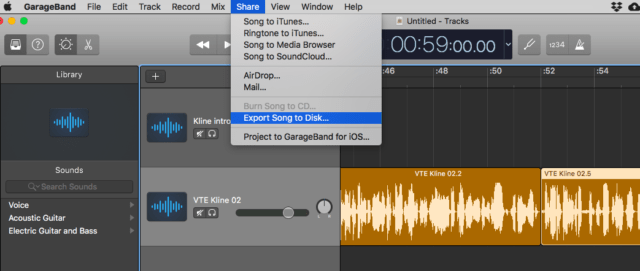
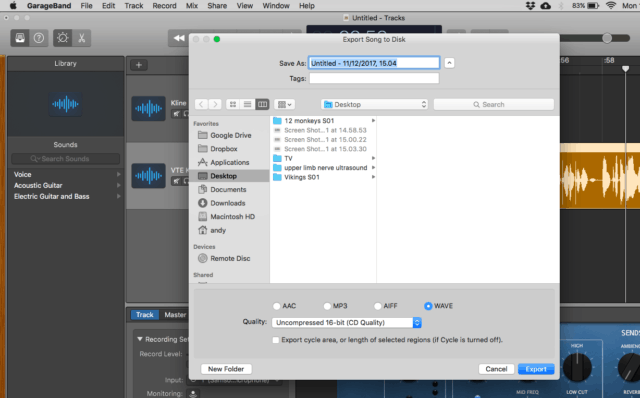
Now you’re ready to export your file.
GarageBand
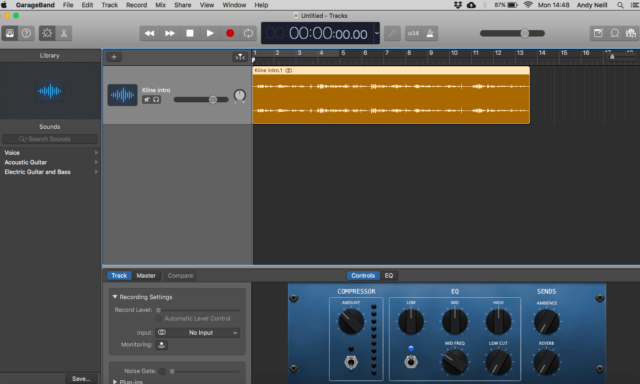
This is where most mac people start as it looks pretty and is reasonably intuitive. However it’s not especially podcast friendly. That being said Anton Helman still uses it for editing and he’s a real tech head and podcast legend.
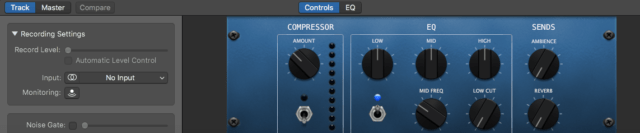
First off always make sure you’ve turned off the EQ and effects. Sometimes GarageBand has these on automatically when it’s trying to be “helpful” and you don’t want them at this stage.
 Adjusting volume is similar to audacity, there’s a little slider that moves left and right adjusting the level for that track.
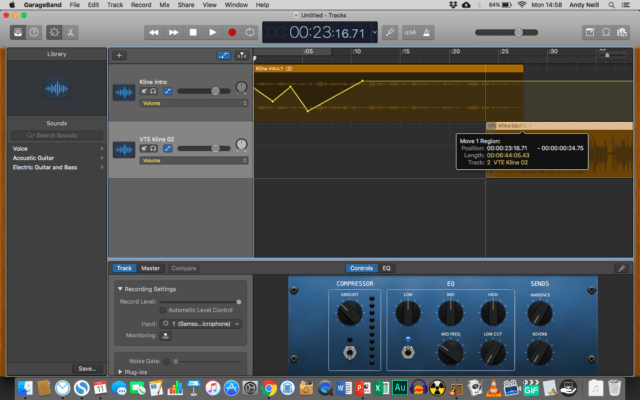
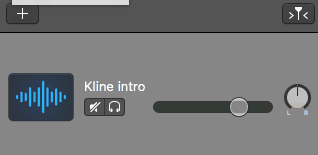 You can do fade in and fade outs using the “automation” feature.
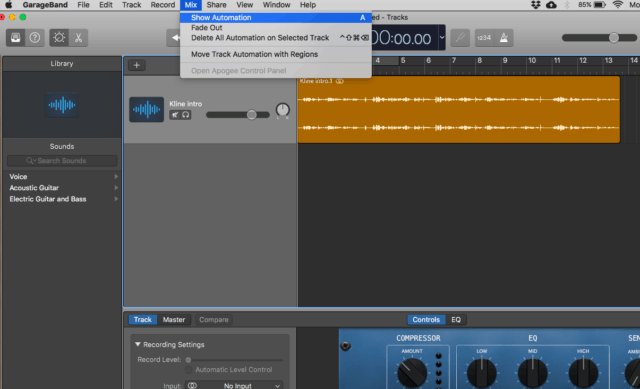
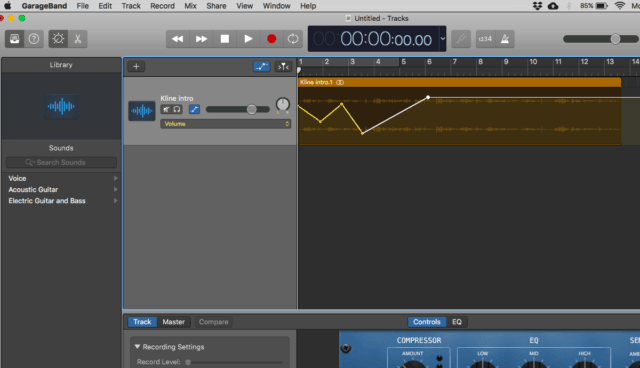
The crazy snake thing i’ve drawn as a fade is purely for demonstration and would not be useful in real life…
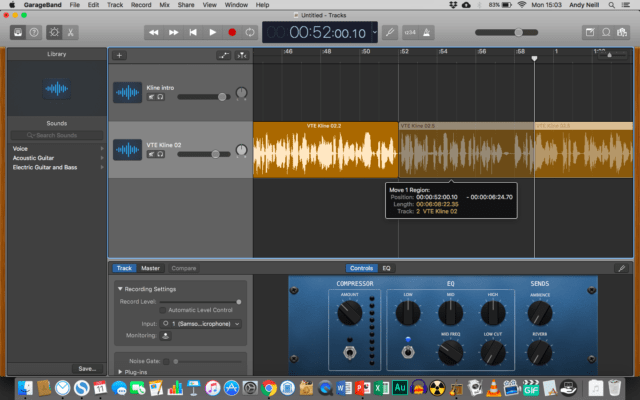
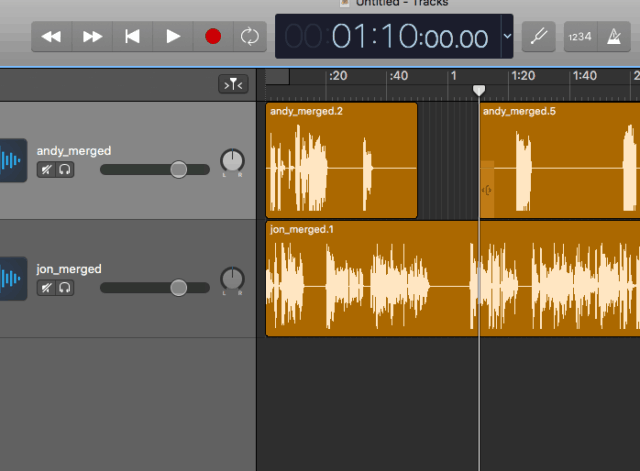
Cutting out a section of audio is a bit trickier. There’s no highlight feature here so instead you move the playhead to the beginning of the section you want to remove.

Then you “split” the track
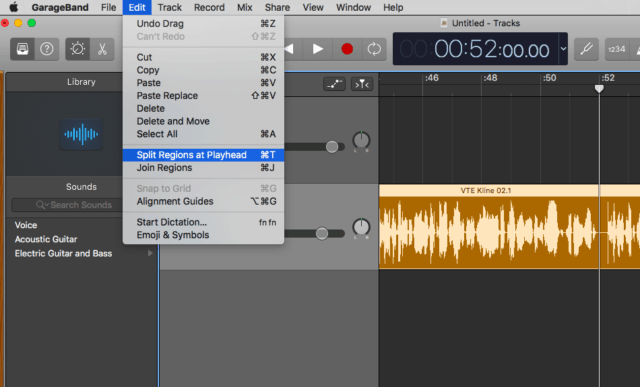
You then split the track again at the end of the section you want to delete
And press back space to delete that section
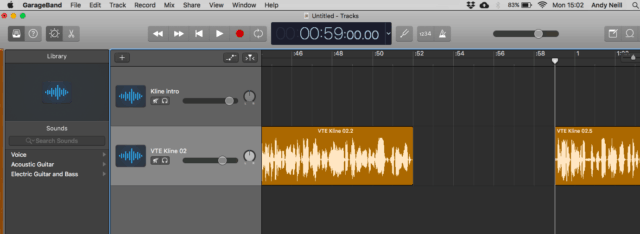
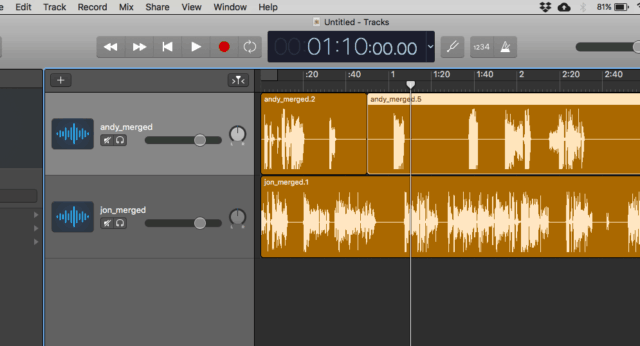
The problem as you can see now is that there’s a big gap of silence between the two parts. You have to slide the right hand section to meet the left hand section to make the gap disappear
Moving and aligning tracks with garageband is really easy. You just click and hold and move them.
Once you’re happy with things then export your final file.
Two track v single track editing
Let’s say you’re editing an interview between two people. If you’re doing it right you’ll have got each person on their own audio track. It’ll look something like this on garage band
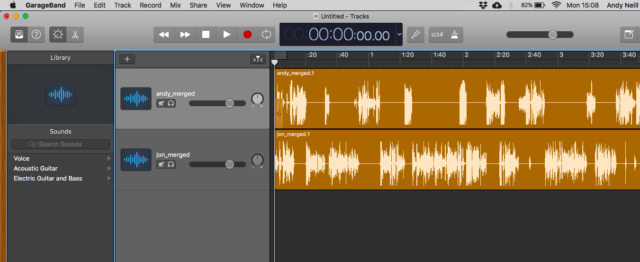
If I want to remove a section i have to make sure i remove the same amount of time from each track as otherwise the audio won’t be aligned and there’ll be a delay between one person’s audio and the other.
This means a lot of clicks and moving just to remove a couple of sections of audio. This is where editing can become incredibly time consuming.
When it comes to the final edit of one of these tracks I like to edit it as a single track with both people on the same track. You can use auphonic multitrack to match the volume levels presuming the two tracks are fairly clean to start with. You can see more about that on the video on RCEM Learning Production above.
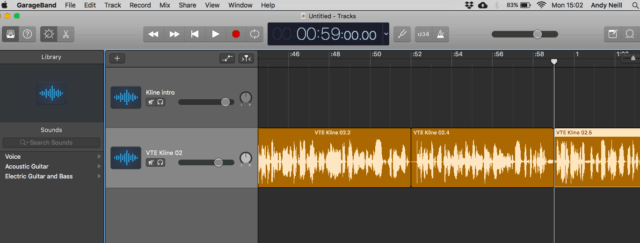
If you prepare your two tracks correctly you end up with something looking like this.
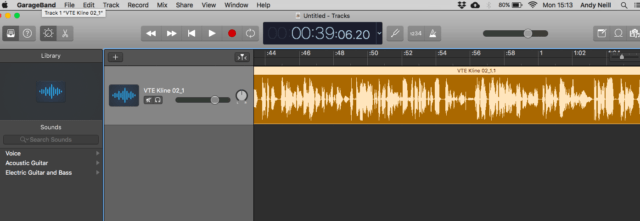
On this single track are two voices talking back and forth. You can tell just by looking at the waveform that the levels are fairly equal. Now I can clip out sections i don’t want with half the number of clips. Or even better if i’m doing this on audacity I have the “ripple delete” function where i highlight what I don’t want press backspace and the section removes and the right hand side is automatically moved towards the left hand side without me having to move the clips.
Especially when you have someone more non technical doing your “clinical editing” (deciding what goes in and what doesn’t go into the final audio product) this can be a massive time saver. There are some disadvantages that if you find a noise (like a cough) in the track after it’s been merged into a single track then you can’t silence it. It also works better if you have reasonably good quality audio to start with.
Further reading: